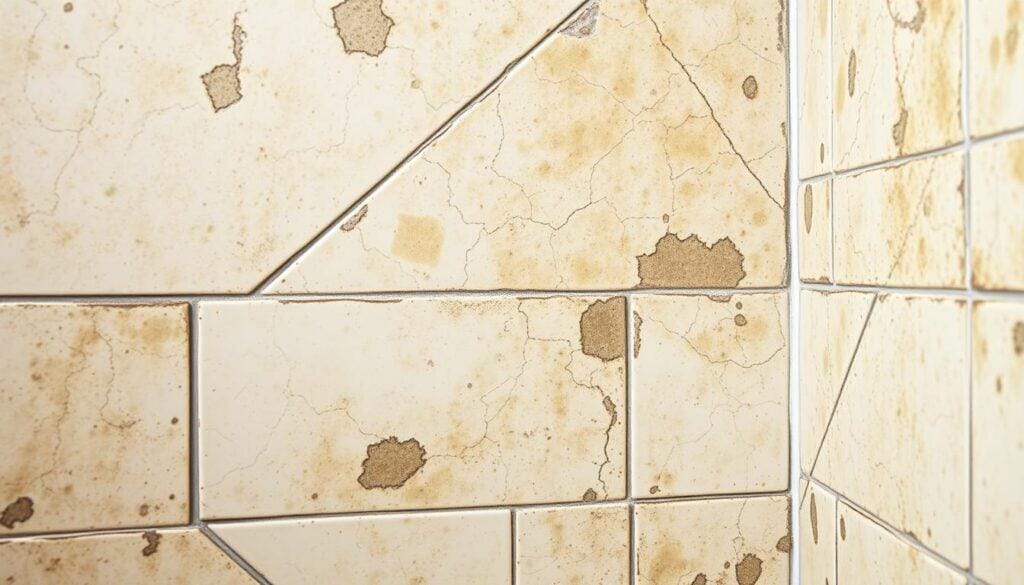
Dirty, discolored shower grout is a common problem that can make even the cleanest bathrooms look neglected. The porous nature of grout makes it prone to collecting dirt, soap scum, and body oils, creating a breeding ground for mold and mildew in the humid shower environment.
Over time, slight discoloration can develop into stubborn stains that seem impossible to remove. In this comprehensive guide, we’ll walk you through everything you need to know about restoring your bathroom tile and grout to its original clean state, covering causes of discoloration, safety precautions, and effective cleaning methods.
Key Takeaways
- Understand the common causes of grout discoloration and stains.
- Learn safety precautions for cleaning grout effectively.
- Discover essential supplies needed for the cleaning process.
- Follow step-by-step instructions for cleaning grout.
- Implement prevention techniques to keep your shower grout clean for longer.
Why Shower Grout Gets Dirty and Discolored
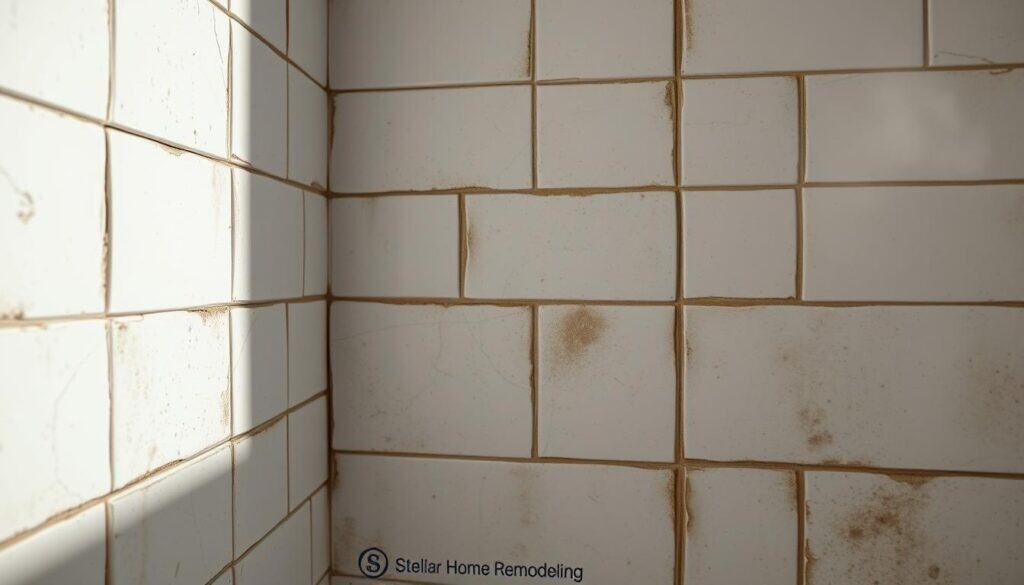
Dirty and discolored shower grout is a common issue many homeowners face, often resulting from a combination of factors. The grout used between tiles is typically made of a porous material that absorbs moisture, dirt, and bacteria readily.
Causes of Grout Staining
The main culprits behind dirty grout include daily shower use that creates a perfect storm of moisture, soap scum, body oils, and mineral deposits from water. Hard water, in particular, can leave deposits that build up over time and cause discoloration. Some key factors include:
- Grout’s porous nature making it susceptible to moisture and dirt.
- Daily shower use contributing to the buildup of soap scum and body oils.
- Hard water containing high levels of minerals like calcium and iron.
Understanding Different Types of Grout Stains
Different types of stains require different cleaning approaches. Organic stains from mold and mildew respond to alkaline cleaners, while mineral deposits and rust stains require acidic solutions. Understanding the specific type of stain affecting your grout is crucial for selecting the most effective cleaning method.
Safety First: Protecting Yourself When Cleaning Grout
Before you start cleaning your grout, it’s crucial to understand the importance of safety measures. Cleaning grout involves using various cleaning products that can be harmful if not handled properly.
Essential Protective Gear
To protect yourself, wear rubber gloves to prevent harsh chemicals from coming into contact with your skin. Additionally, use safety glasses to shield your eyes from potential splashes.
Proper Ventilation Requirements
Proper ventilation is crucial when working with cleaning chemicals. Make sure to open windows, turn on exhaust fans, or use portable fans to ensure adequate air circulation and prevent the buildup of potentially harmful fumes.
Chemical Safety Warnings
Never mix different cleaning products, especially those containing bleach with ammonia or acidic cleaners, as this can create toxic gases. Always read product labels carefully and test any new cleaner on a small, inconspicuous area first.
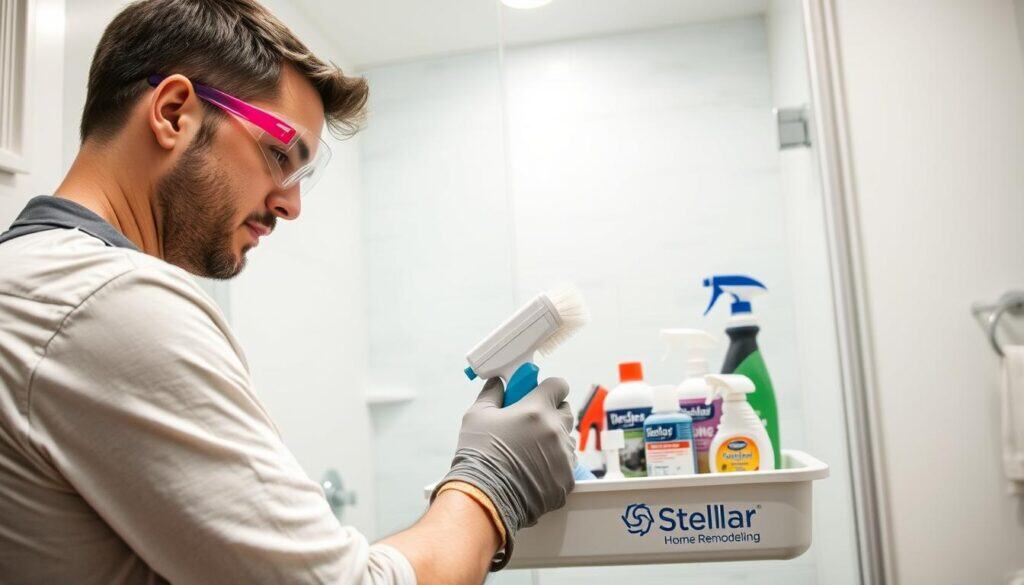
By prioritizing your safety and taking the necessary precautions, you can effectively clean your grout without risking your health.
Essential Supplies for How to Clean Grout in Shower
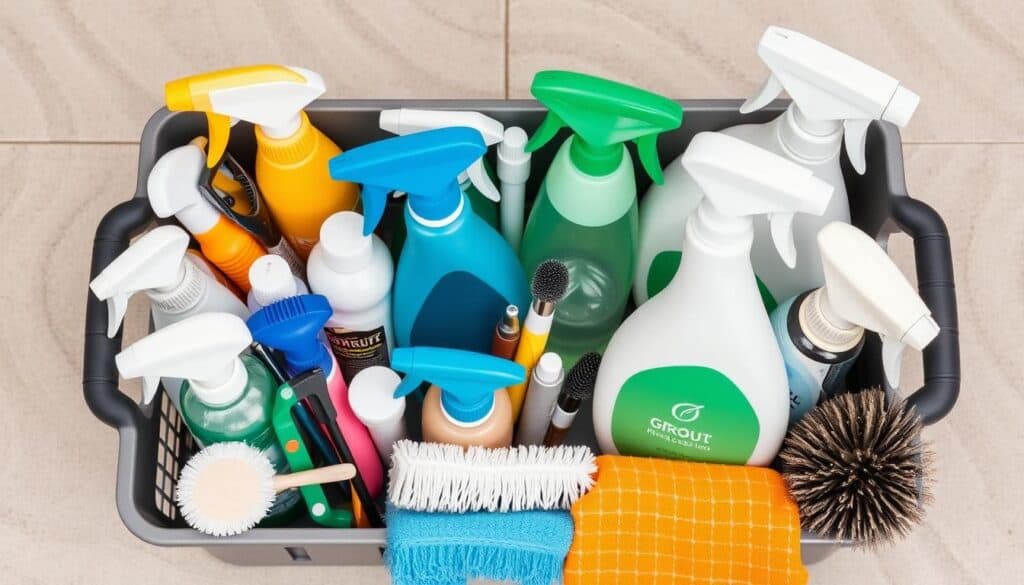
The key to effectively cleaning your shower grout lies in having the necessary supplies on hand. Gathering the right tools and materials will make the process more efficient and help you achieve better results.
Basic Cleaning Tools
For basic cleaning, you’ll need a grout brush or an old toothbrush with stiff bristles to scrub away grime and stains. Microfiber cloths or sponges are also essential for applying and wiping away cleaning solutions. Don’t forget to wear rubber gloves to protect your hands from harsh chemicals.
Recommended Commercial Cleaners
When it comes to commercial grout cleaners, there are several effective options available. Tilex Mold & Mildew and Stonetech Mold & Mildew Stain Remover are great for tackling mold and mildew stains, while Bar Keepers Friend is ideal for addressing rust and lime buildup. Choose a cleaner that’s suitable for your specific grout issues.
Ingredients for DIY Solutions
If you prefer to create your own cleaning solutions, you’ll need ingredients like baking soda, hydrogen peroxide, and white vinegar. These natural ingredients can be combined to create effective homemade grout cleaners. Don’t forget to have a spray bottle on hand to apply your DIY solution.
Preparing Your Shower for Grout Cleaning
Before diving into grout cleaning, it’s essential to prepare your shower area properly. This step ensures that the cleaning process is effective and safe.
Pre-Cleaning Steps
To start, thoroughly rinse the shower walls with warm water to remove dirt and soap residue from the surface. Remove all shower items and accessories to give you unobstructed access to the grout lines in the area between the tiles.
- Rinse the shower walls with warm water.
- Remove all shower items and accessories.
Identifying Your Grout Type
It’s crucial to identify if you have sanded, unsanded, or epoxy grout, and whether it’s sealed or unsealed. This determines the appropriate cleaning method for your tile and grout.
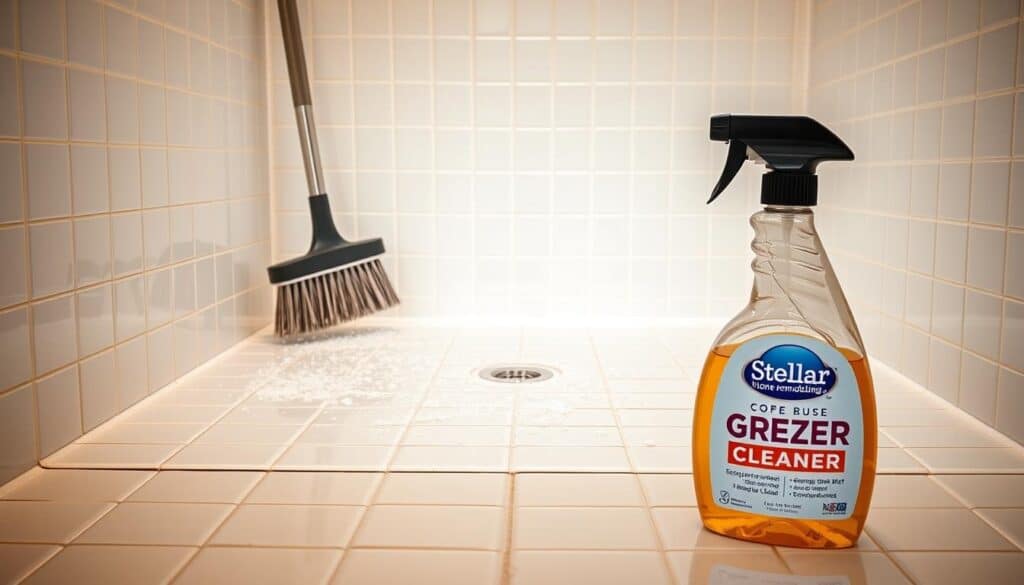
Effective Methods for Cleaning Shower Grout
A sparkling clean shower grout not only enhances the overall appearance of your bathroom but also contributes to a healthier environment. Over time, grout can become discolored and stained due to dirt, mildew, and soap scum buildup. Fortunately, there are several effective methods to clean shower grout, ranging from commercial products to DIY solutions.
Commercial Grout Cleaners
Commercial grout cleaners like Tilex, Grout-EEZ, and Bar Keepers Friend are specifically formulated to tackle tough grout stains. These products can be highly effective with minimal scrubbing required. However, they often contain stronger chemicals that necessitate proper ventilation during use. Always follow the manufacturer’s instructions and take necessary safety precautions.
- Effective against tough stains
- Minimal scrubbing required
- Proper ventilation is necessary
DIY Baking Soda and Hydrogen Peroxide Paste
A popular and effective DIY solution involves making a paste with 3/4 cup of baking soda, 1/4 cup of hydrogen peroxide, and 1 tablespoon of mild dish soap. This gentle yet powerful mixture can remove most stains without harsh chemicals. Apply the paste to the grout using a grout brush, scrub thoroughly, and let it sit for 5-10 minutes before rinsing.
Steam Cleaning Method
Steam cleaning is an excellent chemical-free option for cleaning grout. It uses high-temperature water vapor to loosen dirt and kill bacteria in grout lines. While it requires special equipment, steam cleaning can be very effective. However, be aware that it may remove grout sealant over time, so reapplying sealant after cleaning is recommended.
The Pink Stuff and Other Cleaning Pastes
The Pink Stuff cleaning paste has gained popularity for its effectiveness on grout. A small amount applied with a cloth or brush can remove stubborn stains with moderate scrubbing. The paste’s consistency makes it easy to spread and scrub onto grout lines. While it may require some elbow grease, the results can be impressive.
Regardless of the method you choose, it’s crucial to match your cleaning technique to your grout type and stain type. What works for mold on ceramic tile grout may not be suitable for natural stone or colored grout. Always test a small, inconspicuous area first to ensure the cleaner or method won’t damage your grout.
Step-by-Step Grout Cleaning Process
To get your shower grout looking like new, follow our step-by-step cleaning guide. This process is designed to be straightforward and effective, ensuring you achieve the best results with minimal effort.
Applying Your Chosen Cleaner
Begin by applying your chosen cleaner directly to the grout lines using a spray bottle, squeeze bottle, or brush. Work in small sections of 2-3 square feet at a time to prevent the cleaner from drying out. If you’re using a DIY solution like vinegar, pour it into a clean, empty spray bottle for less mess. For other cleaners, follow the instructions on the label for application guidance.
Proper Scrubbing Techniques
After allowing the cleaning solution to sit on the grout for 5-10 minutes, it’s time to scrub. Use a grout brush or an old toothbrush to apply firm pressure in a back-and-forth motion along the grout lines. Avoid circular motions, as they are less effective for removing stubborn stains. For particularly tough stains, you may need to reapply the cleaner and scrub multiple times, being patient with the process to avoid damaging the grout.
Rinsing and Drying
After scrubbing, thoroughly rinse the area with clean, warm water to remove all cleaning solution residue. This step is crucial because leftover residue can attract more dirt. Use a clean microfiber cloth to remove excess water, and then allow good ventilation in the bathroom to ensure the grout dries completely. Proper drying prevents new mold growth, keeping your grout clean and fresh for longer.
| Step | Action | Tips |
|---|---|---|
| 1 | Apply Cleaner | Use a spray bottle or brush directly on grout lines. |
| 2 | Scrub Grout | Use a grout brush in a back-and-forth motion. |
| 3 | Rinse and Dry | Rinse with warm water and dry with a microfiber cloth. |
When to Call the Professionals
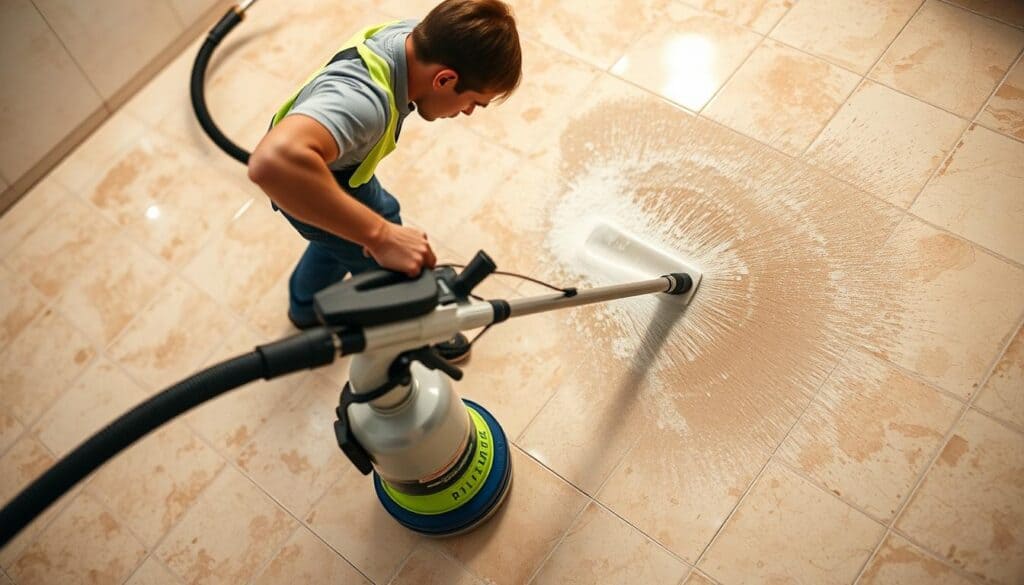
When your shower grout remains grimy despite multiple cleaning attempts, it might be time to seek professional help. While DIY methods are effective for most grout cleaning situations, there are times when professional assistance becomes necessary to restore your shower’s appearance.
Signs DIY Methods Aren’t Working
If you’ve tried various cleaning products and techniques without success, it’s likely that your grout needs more than just a simple cleaning. Signs that it’s time to call in professionals include persistent stains that don’t respond to multiple cleaning attempts, crumbling or damaged grout that needs repair, or extensive mold problems that may indicate deeper issues.
What to Expect from Professional Services
Professional grout cleaning services have access to industrial-strength cleaners and specialized equipment that can tackle even the most stubborn stains without damaging your tiles or grout. When hiring professionals, expect them to assess your specific grout type and condition, use appropriate cleaning methods, and potentially recommend sealing or regrouting if necessary. Some professionals offer color sealing services that not only clean but also restore uniform color to old, permanently stained grout, giving your shower a like-new appearance.
Preventing Future Grout Stains and Discoloration
The key to a sparkling shower lies in regular maintenance and the right techniques! To keep your grout looking its best, it’s crucial to implement a few simple habits that will keep your shower looking clean and fresh for much longer periods.
First, applying a high-quality grout sealer every 6-12 months creates a protective barrier against moisture and stains, dramatically reducing maintenance needs. Daily maintenance makes a big difference too – keep a squeegee in your shower and spend 30 seconds removing excess water from walls and floor after each use.
Additionally, consider using a daily shower spray product that helps prevent soap scum and mineral deposits from forming on grout in the first place. For tougher cases, replacing traditional cement-based grout with epoxy grout during your next bathroom renovation is a great option – it’s more expensive initially but is non-porous and highly stain-resistant.
